In today’s fast-paced work environment, staying organized and efficient is paramount. This is where “Spaces”, our latest feature, comes into play. Designed to streamline project management, Spaces offers a unique solution for teams and individuals to manage their projects, tasks, and activities more effectively. In this article, we’ll explore how Spaces works and how it can transform your project management experience.
How it works
“Spaces” allows the creation of distinct, isolated work environments within the Birdview platform and is available for all licenses. Each space serves as a dedicated area for a specific team, project, or department, ensuring that all relevant information and tasks are neatly organized and easily accessible.
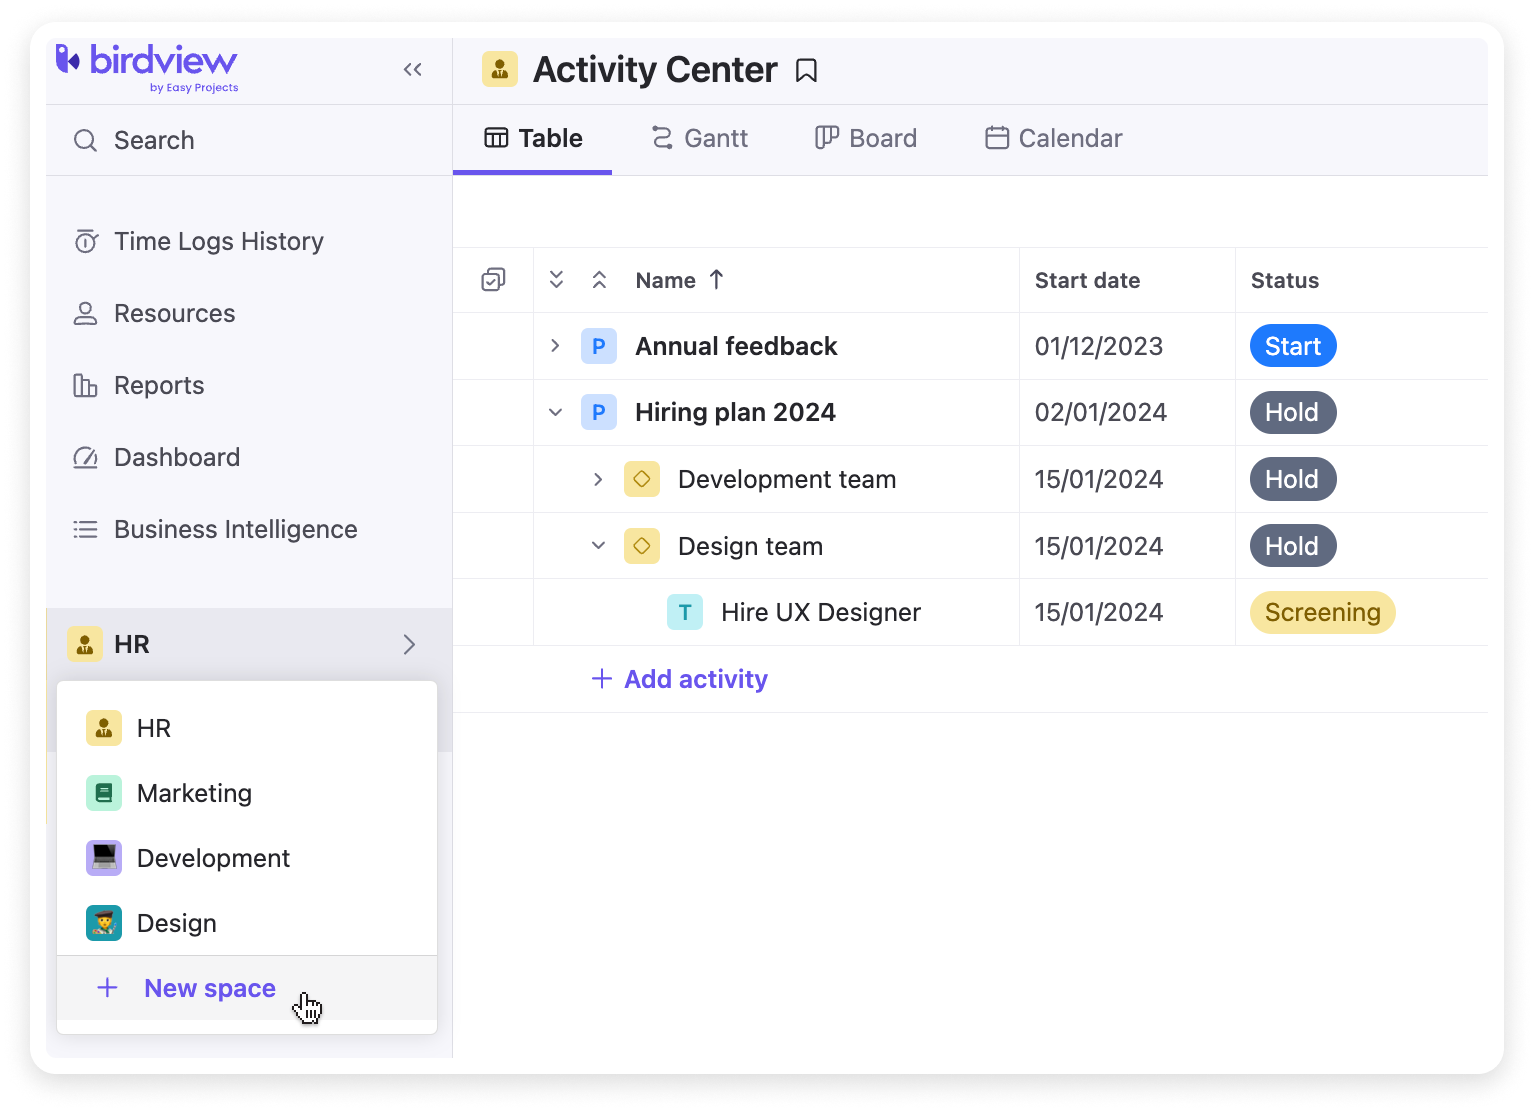
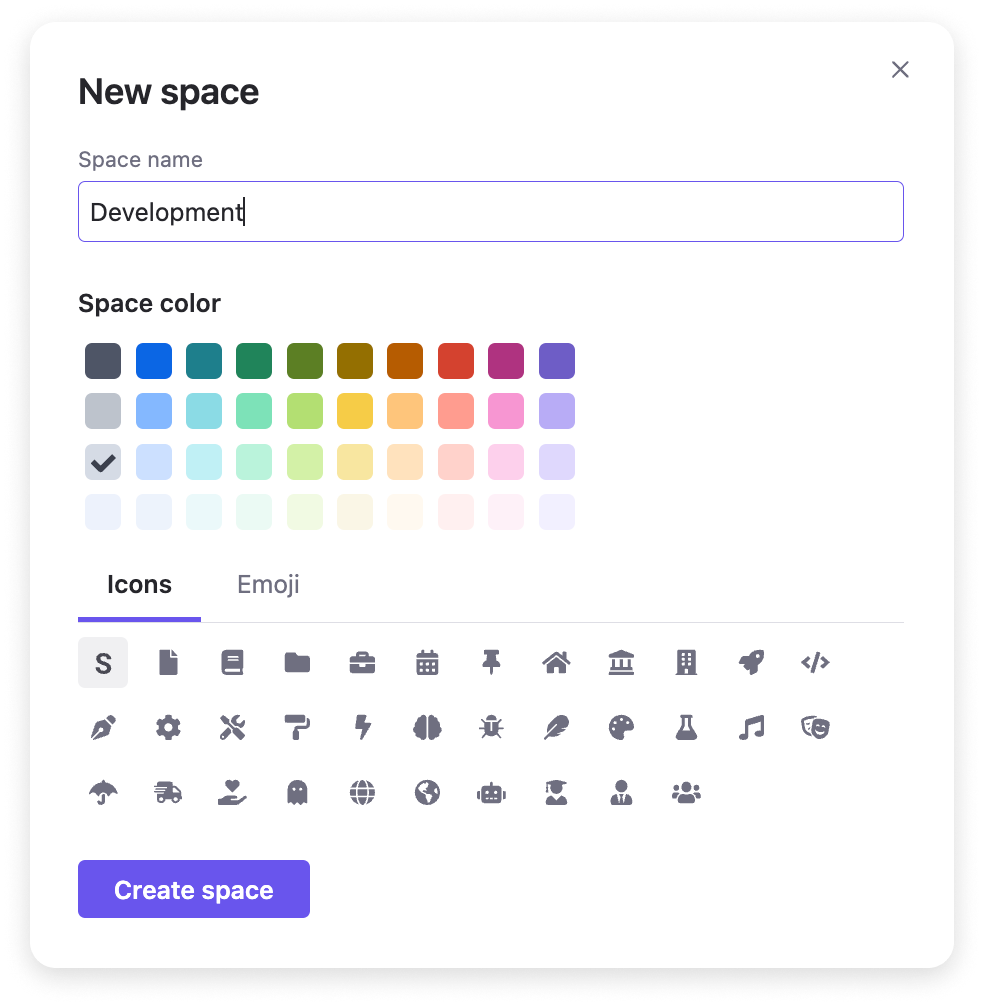
1. To create a new space, simply access the drop-down menu in the middle of the main menu on the left of your Birdivew account dashboard and click on the “New space” button. You only need to provide a name for your space; other fields are optional.

2. Personalize each space with specific colors and icons, making it easy to distinguish between different spaces. You can change these settings later as well. You can also save views for each space.

3. To access “Space” settings, go to the drop-down menu on the left and click on the icon next to the space name. You will see four tabs of settings for spaces including general, members, custom fields, and workflows.
4. In the “General” tab, you can change the name, icon, and color of your space.
5. In the “Members” tab, you can control who has access to each space, their roles, and permissions.
6. In the “Custom fields” and “Workflows” tabs, you can add customizable fields and workflows. You can choose from existing custom fields and workflows, that you already have within your global company settings, or create new ones that will be available only in this particular space.
Key features of “Spaces”
- Each space comes with its own Activity Center, a centralized place where all the projects, tasks, and activities of that space are displayed. There will no longer be a common Activity Center in Birdview.
- Each space now can have its own custom forms, relevant only to that particular space. Forms created in one space are not visible in others, ensuring data privacy and relevance.
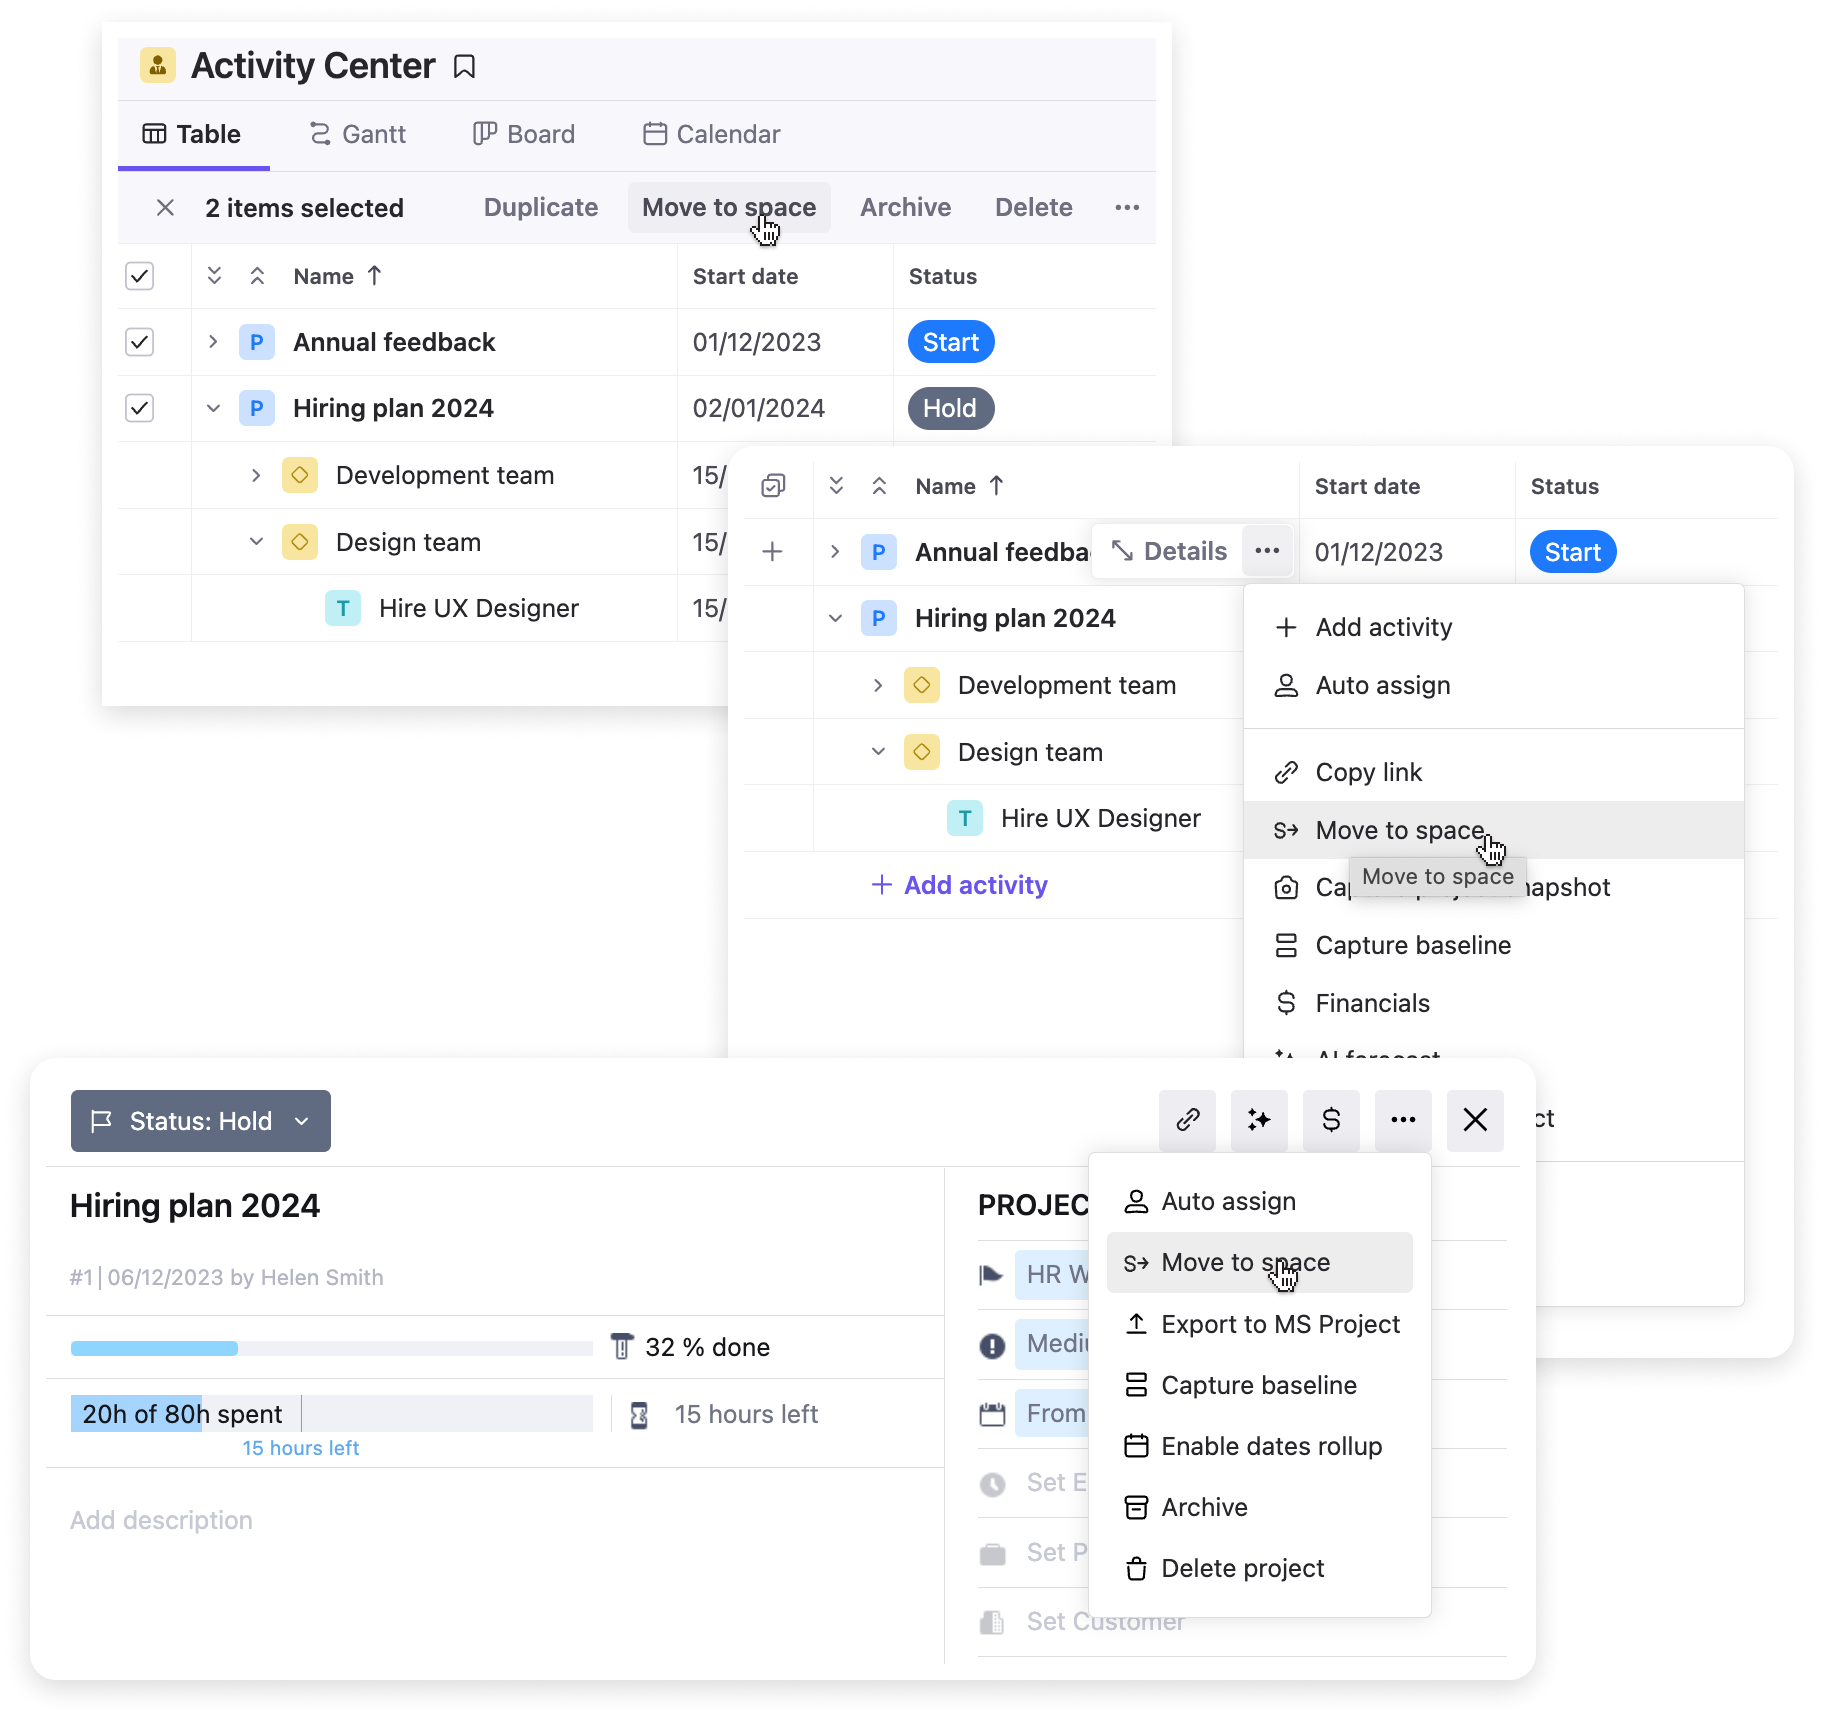
- Projects can be moved between spaces when needed. Navigate to the space A from which you want to move the project. Go to the context menu next to the project name and click “Move to space”. You can also access this functionality in the project details and batch operations in the Activity Center. In the popup screen, choose space B where you‘d like to move your project. Only users who have permission to manage company settings and spaces, and can manage space A and space B can access this functionality. All activities and time entries will be fully moved from space A to space B, while all assignees, custom fields, and workflows will be copied from space A to space B.


